






















WSL + Alacritty + Tmux, holy trinity for unix environment in windows
If you’re a developer stuck on Windows but dreaming of the elegance of a Linux workflow, I have good news — you can have both. No dual-booting, no VMs eating your RAM alive. Just three tools working in harmony: Windows Subsystem for Linux (WSL), tmux, and Alacritty.
This is the setup that finally made me stop fighting my operating system and start getting things done.
Let’s be real. If you’ve ever tried to do serious terminal-driven development on Windows, you’ve felt the friction. PowerShell is powerful but verbose. Command Prompt is a relic. And even Windows Terminal, while a massive improvement, still leaves you one step removed from the Linux ecosystem most dev tools are built for.
You want grep, sed, awk, and ssh to just work. You want package managers that don’t make you cry. You want a terminal that feels fast, looks clean, and doesn’t get in your way.
Here’s how to build exactly that.
Step 1: WSL — Bring the Full Linux Experience to Windows
Windows Subsystem for Linux lets you run a genuine Linux kernel directly on Windows. Not emulated. Not containerized. A real Linux environment with access to your Windows filesystem.
Getting Started
Open PowerShell as Administrator and run:
wsl --installThis installs Ubuntu by default. You can choose other distros if you prefer:
wsl --install -d DebianAfter a reboot, you’ll have a full Linux shell at your fingertips. From here, you can install anything you’d install on a Linux server — Node.js, Python, Docker, Rust, Go — all through native package managers like apt, brew, or nix.
The beauty of WSL is that you get one machine running two worlds. You can have VS Code open on Windows while compiling and running code in a full Linux environment, seamlessly. No more wrestling with Windows ports of Unix tools either — your native toolchains just work out of the box. Need to access files across both systems? Linux sees your Windows drives at /mnt/c/, and Windows can reach into your Linux filesystem just as easily. And if you’re running containers, Docker Desktop hooks directly into WSL2, giving you near-native performance without the overhead of a traditional VM.
WSL2 is the foundation. It gives you the what. The next two tools give you the how.
Step 2: Setting up Alacritty
Most terminals are slow and bloated with features you never use. Alacritty takes the opposite approach — it’s a GPU-accelerated terminal emulator written in Rust that does one thing, render text, and does it absurdly fast. Scrolling through massive log files, running cat on a 10,000-line file, or watching rapid build output — it stays buttery smooth where other terminals start to choke. There are no tabs, no splits, no built-in multiplexer, and that’s by design. Alacritty handles rendering while you handle workflow, which is exactly where tmux comes in. Everything is configured through a single TOML file (alacritty.toml) — font, colors, padding, keybindings — all version-controllable and portable across machines.
Installing Alacritty
Download the latest release from github.com/alacritty/alacritty for Windows. After installation, configure it to launch directly into your WSL shell.
Create or edit %APPDATA%\alacritty\alacritty.toml:
[shell]
program = "wsl.exe"
args = ["~"]

[font]
size = 12.0

[font.normal]
family = "JetBrains Mono Nerd Font"
style = "Regular"

[window]
padding = { x = 8, y = 8 }
opacity = 0.95
decorations = "None"

[colors.primary]
background = "#1a1b26"
foreground = "#c0caf5"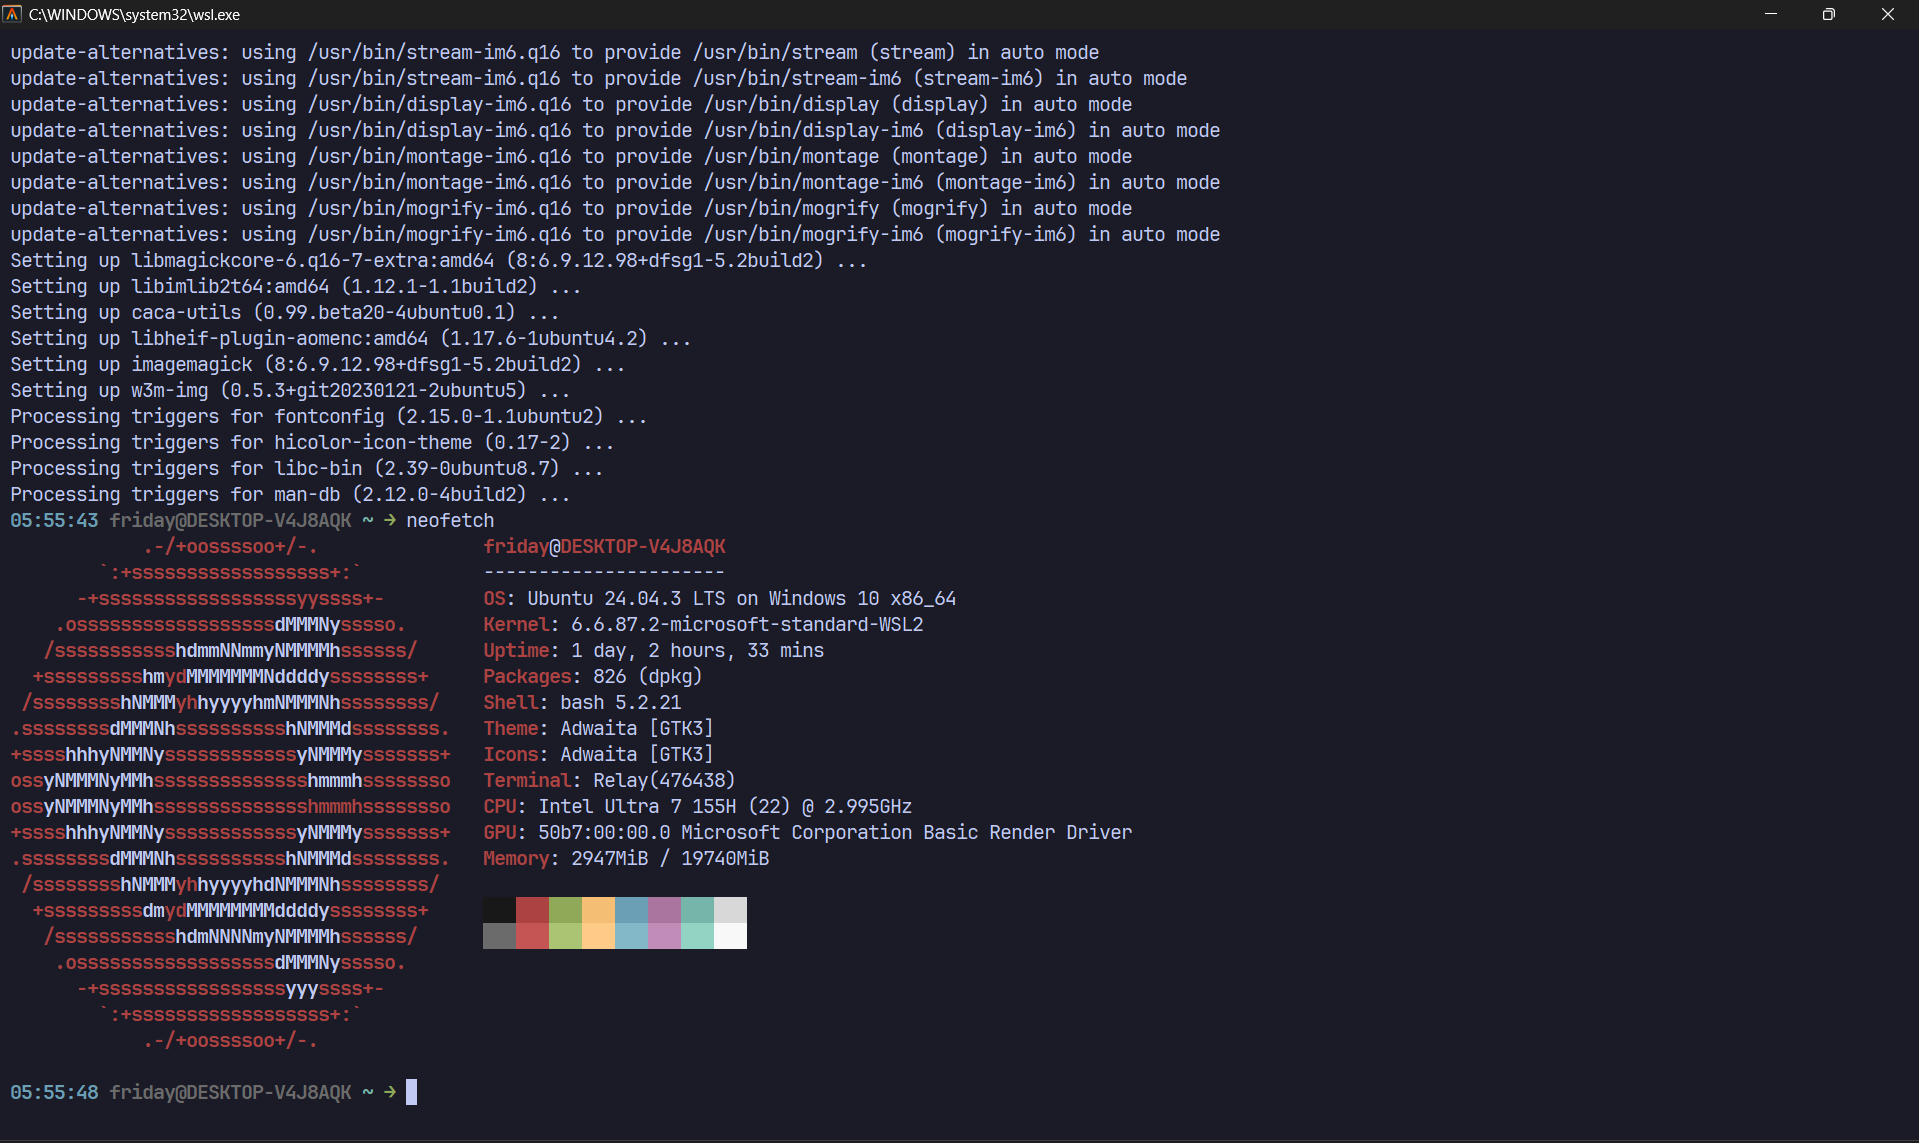
Now when you open Alacritty, you’re immediately dropped into your Linux shell. No clicking through menus. No selecting profiles. Just a fast, clean terminal ready to work.
Step 3: tmux for session management
Here’s where the magic happens. tmux (terminal multiplexer) lets you create, split, and manage multiple terminal sessions from a single window. But more importantly, sessions persist. Close your terminal, reopen it, reattach — everything is exactly where you left it.
Installing tmux
Inside your WSL shell:
sudo apt update && sudo apt install tmux -yThe Core Concepts
Sessions are top-level containers. Think of them as projects. You might have one session for your web app, another for your API server, another for personal scripts.
Windows live inside sessions. They’re like tabs, but better — you switch between them with keyboard shortcuts instead of mouse clicks.
Panes split a window into multiple views. Code on the left, server logs on the right, a test runner on the bottom. All visible at once.
Essential tmux Commands
# Start a new named session
tmux new -s project-api

# Detach from session (it keeps running in the background)
# Press: Ctrl+b, then d

# List active sessions
tmux ls

# Reattach to a session
tmux attach -t project-api

# Split pane horizontally
# Press: Ctrl+b, then "

# Split pane vertically
# Press: Ctrl+b, then %

# Switch between panes
# Press: Ctrl+b, then arrow keys

# Create a new window
# Press: Ctrl+b, then c

# Switch between windows
# Press: Ctrl+b, then window number (0-9)
Why tmux Is a Productivity Game-Changer
If you work on remote servers over SSH, tmux is a lifesaver. Even if your connection drops tmux keeps everything running in the background. Just reattach and pick up exactly where you left off. That alone is worth the learning curve. But it also changes how you think about context switching. Instead of closing and reopening terminals for different projects, you just switch sessions. Your web server is still running, your database CLI is still open, your test suite is still mid-run. Everything stays exactly where you left it.
You can take this even further with reproducible layouts. Using a tmux config file or a tool like tmuxinator, you define workspace layouts that spin up with a single command:
# ~/.tmuxinator/webapp.yml
name: webapp
root: ~/projects/webapp
windows:
  - editor:
      layout: main-vertical
      panes:
        - nvim .
        - npm run dev
  - server:
      panes:
        - docker compose logs -f
        - htop
  - git:
      panes:
        - lazygit
Run tmuxinator start webapp and your entire development environment materializes in seconds.
Pair programming and sharing. Multiple users can attach to the same tmux session, making it a lightweight tool for remote collaboration — no screen sharing needed.
Recommended tmux Config
One thing that annoyed me early on was losing all my sessions after a system restart. tmux sessions live in memory, so a reboot wipes everything. That’s where tmux-resurrect and tmux-continuum come in. Resurrect lets you save and restore your tmux environment i.e. windows, panes, layouts, even the programs running in them. Continuum takes it a step further by automatically saving your sessions in the background and restoring them when tmux starts. You basically never lose your workspace again.
Clone both plugins directly from GitHub:
mkdir -p ~/.tmux/plugins
git clone https://github.com/tmux-plugins/tmux-resurrect ~/.tmux/plugins/tmux-resurrect
git clone https://github.com/tmux-plugins/tmux-continuum ~/.tmux/plugins/tmux-continuum
Then add this to your ~/.tmux.conf:
set -g mouse on
set -g history-limit 30000

# Reload config easily
bind r source-file ~/.tmux.conf \; display "Config reloaded!"

# Better colors
set -g default-terminal "tmux-256color"
set -ag terminal-overrides ",alacritty:RGB"

# Status bar styling
set -g status-style bg=default
set -g status-left "#[fg=cyan]#S "
set -g status-right "#[fg=yellow]%H:%M"

# Plugins
run-shell ~/.tmux/plugins/tmux-resurrect/resurrect.tmux
run-shell ~/.tmux/plugins/tmux-continuum/continuum.tmux

# Auto-restore sessions on tmux start
set -g @continuum-restore 'on'
Reload tmux with Ctrl+b then r and you’re set. Continuum will silently save your sessions every 15 minutes and restore them automatically next time you start tmux.
Putting It All Together: The Workflow
Here’s what a typical day looks like with this setup:
-
Hit a keyboard shortcut to launch Alacritty. It opens instantly — no splash screen, no loading animation — and drops you directly into your WSL Linux shell.
-
Attach to your tmux session.
tmux attach -t workand you’re back to exactly where you left off yesterday. Your editor still has that file open. Your dev server is still running. Your test output is still on screen. -
Navigate between projects by switching tmux sessions.
Ctrl+bthensshows your session list. Arrow down, hit enter, and you’re in a completely different project workspace. -
Split panes as needed. Debugging an API? Split vertically — code on the left,
curloutput on the right. Monitoring? Three panes — logs, metrics, and a shell. -
Close Alacritty at end of day. Your tmux sessions keep running inside WSL. Tomorrow, you’ll reattach and everything will be waiting.
No mouse required for any of this. Your hands never leave the keyboard, isn’t it hacky and cool :P
Quick Reference Card
| Task | Command / Shortcut |
|---|---|
| Open terminal | Launch Alacritty |
| New tmux session | tmux new -s name |
| Detach session | Ctrl+b, d |
| Reattach session | tmux attach -t name |
| Horizontal split | Ctrl+b, % |
| Vertical split | Ctrl+b, " |
| Switch pane | Ctrl+b, arrow |
| New window | Ctrl+b, c |
| Switch window | Ctrl+b, [0-9] |
| List sessions | Ctrl+b, s |
| Kill session | tmux kill-session -t name |
You don’t need to abandon Windows to have a world-class terminal workflow. WSL gives you real Linux. Alacritty gives you speed and clarity. tmux gives you persistence and organization. Together, they create something greater than the sum of their parts, a development environment that’s fast, reliable, and entirely keyboard-driven.
The initial setup takes about thirty minutes. The learning curve for tmux takes maybe a weekend of deliberate practice. After that, you’ll wonder how you ever worked without it.
Stop fighting your tools. Make them work together.
~rogdevil